If you are into taking screenshots more often than anyone else in your working group, or you just want to send some random quick fact by sending screenshots, then this space is just for you. It is quite a different task when Mac is your first device. So stay around for not one, not two but four methods of screenshotting your Mac screen.
There are two types of screenshots
- Full-screen screenshot
- Part-screen screenshot
Take a screenshot on your Mac
COMMAND+SHIFT+3
This is by far the easiest way to capture your entire screen as a screenshot and use it to meet your needs.
SHIFT+COMMAND+4
This combination will convert your cursor into a plus sign and then you can select the entire or part of the screen by dragging your mouse or trackpad. When you are done selecting the particular area just release the mouse button or trackpad to complete your screenshot. This combo will provide you variety of options that will let you modify your screenshot
Spacebar
Hitting and then releasing the spacebar will change the plus sign cursor into a little camera like icon which can be placed on various windows that are open so that we can capture the desired screenshot. A distinguishing characteristic of using this method is that the screenshot has a solid white-colored border with a little hint of dropping type shadow. Don’t you release your already held spacebar then you have got yourself an option to realign your screenshot margin for few pixels. You can use this leverage to refine your screenshot slightly.
Shift Key
When the Shift key is not released, then the area selected will be locked. This will pop out the option of repositioning the margin of the lower edge. You can move the lower edge according to the need, to your desired location, which can be upward or lower. Follow the same procedure for realigning other edges in the anticlockwise direction. Keep on holding the mouse button or trackpad and re-hit the shift key for the next alignment. Normally altering two sides will almost do the job.
SHIFT+COMMAND+5
A comparatively newer method has been introduced in Mac OS Mojave released in 2018 and followed up in later editions. A three-option palette will pop up on the screen at the bottom part of the screen after hitting this combination. This will let you capture the whole screen or a part of it. You can even start recording your screen using this option as well. The escape button on the keyboard will let you close the option palette or simply click on the cross button given on the palette to stop working on your screenshot.
COMMAND+SHIFT+6
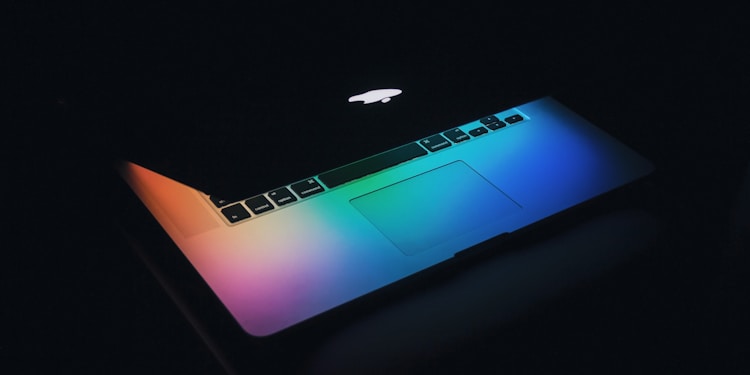
If you are blessed enough to have that model of MacBook that comes with a touch bar. Then you can have your touch bar screenshotted and even edited at the same time.
These are the few tried and tested methods to take the screenshot in your beloved Mac or any Apple machines. Go try for yourself and enjoy.


